Move installed CS2 to another Steam library on the same computer
For an installed CS2 copy on the same computer, use Steam’s Storage controls to select the source drive, choose the game and move it to the intended library. Changing the default installation location alone does not move an existing game. Save work, close CS2 and check the destination before starting the transfer.
CASECS2Updated:
Identify source and destination first
Choice
What to establish
Common confusion
Source drive
Where this CS2 installation currently resides
Selecting a different library by habit
Destination library
Where the installation should move
Changing only the default for future games
Operation scope
Same computer, installed game
A complete cross-computer account migration
For example, adding another library does not itself prove CS2 moved there. Write down the existing location and desired destination before using Move. That comparison is more reliable than inferring success because another drive now appears in Steam’s list.
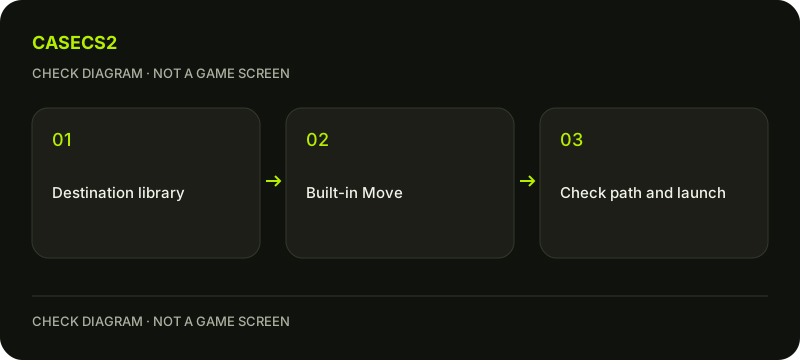
A check diagram, not a game screen.
Prepare the destination and your work
Finish the current session, save work and close CS2. Check available capacity on the destination for Steam’s current requirements rather than relying on a fixed size quoted by a guide. Other installed content or pending operations can affect the space available at that moment.
If an alternative Steam library is needed, create it through Settings, Storage using the library-add control. Record important custom settings separately if they matter to your check. A Steam Cloud status is not a guarantee that every custom setting or personal file has a recoverable backup.
Select the installed game and use Move
In Steam Settings, Storage, select the source drive containing CS2. Select the game and use Move, then choose the intended destination library. Confirm the destination carefully before proceeding. This is the game-move workflow, not a request to move or reinstall the Steam client itself.
Let Steam handle the installed content instead of cutting folders manually or editing registry entries. The guide does not give guessed CS2 configuration paths. Moving a supported installation through the client is a bounded task; it should not become a collection of unrelated manual cleanup instructions.
Wait and verify the actual location
Allow the move to complete, then inspect the game’s reported Library location. Confirm that the result corresponds to the destination you selected. An operation beginning or a progress bar appearing is not the same thing as a finished move.
Launch CS2 from its usual Steam Library entry and check a familiar menu or setting. If a real local-content problem remains, use the verification guide as a separate diagnostic step. Do not infer that every save or custom configuration was transferred solely because the main game starts.
Keep account items separate from disk files
A local move is not a trade, an inventory migration or a change to Prime ownership. The inventory-status guide explains why installation location and account item records need different evidence. There is no need to send a weapon elsewhere to relocate its game installation.
Similarly, the Prime eligibility explanation concerns account access, not which drive stores the client’s content. A request for Steam credentials, trade tokens or an API key is not part of choosing a local destination library.
Retain the message if the move fails
If Steam reports an error, keep the full message, source, destination and available-capacity observations. Avoid deleting the old files manually while the move’s state is unresolved. For a write-related message, use the disk-write error guide to classify the symptom.
This walkthrough does not promise an automatic cross-PC transfer or restoration of every personal setting. Its completion check is narrower: Steam reports the intended location, the move is finished and the same game can be tested there. Preserve any remaining discrepancy for the next targeted step rather than formatting or rebuilding the destination.