Use Steam’s FPS monitor in CS2 without confusing the measurements
Steam’s performance monitor can show FPS through its in-game interface. Enable the relevant overlay settings, choose a readable level of detail and compare the same scene. The monitor measures behavior; enabling a counter does not improve performance or establish why a stutter happened. Read each metric’s definition before comparing numbers.
CASECS2Updated:
Choose the question before the display
Your question
Useful observation
Do not substitute
Is this scene running smoothly?
FPS and visible behavior in that scene
Another map’s result
Did a brief pause occur?
The sample minimum alongside the event
Average FPS alone
Is the connection delayed?
A separate network observation
FPS as a ping reading
For example, a high average can coexist with a noticeable pause. Record the scene and event rather than declaring that the average disproves what you saw. This page explains the display, not a hardware benchmark or an optimization prescription.
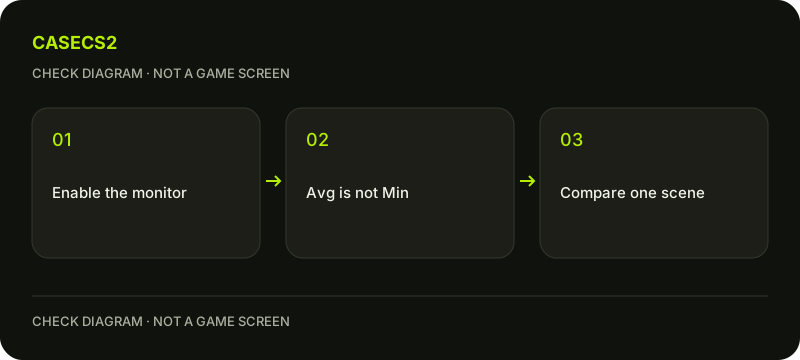
A check diagram, not a game screen.
Enable the display through Steam
Open Steam Settings and inspect In Game, then the Performance Monitor controls. Choose the available detail level and position. Steam describes adjustable contrast and opacity as well, so prioritize text you can read without covering the part of the game you want to observe.
The overlay must be enabled globally and for CS2. Use the Overlay checklist if the display does not appear. Full metric availability initially differs by platform; do not assume another operating system exposes exactly the same controls as a Windows screenshot.
Read the FPS sample correctly
Steam’s FPS average, minimum and maximum summarize samples over a one-second interval. The downward minimum represents the worst frame converted to FPS within that sample. It is not a count of dropped frames and is not the same calculation as a one-percent-low benchmark.
Keep that definition with any note you make. A single sample is not an entire match summary. If a number changes briefly, compare it with what occurred at that moment rather than inventing a fixed hardware diagnosis from one minimum or comparing it with a differently defined statistic elsewhere.
Keep optional metrics in their scope
A supported game may expose generated-frame information in the monitor, but that is not proof that CS2 supports a particular frame-generation feature. Do not relabel generated output as the game’s base FPS. Read what the currently displayed metric actually represents.
Similarly, an unfamiliar CPU utilization value is not automatically evidence of broken hardware. Steam explains that some utilization presentations can exceed one hundred percent under boost behavior. You do not need every detailed metric for a first observation. Start small and use the update-checking method when comparing changed client features.
Make one repeatable comparison
Choose a familiar scene, keep the viewing conditions comparable and record the detail level you used. For an appearance check, the lighting comparison guide helps avoid confusing a changed scene with a changed finish. Do not alter several graphics settings while trying to learn what the display means.
If you save evidence, use the Steam screenshot guide for an in-game image. Include enough context to identify the observation, while excluding private notifications. A screenshot is one moment, not a measured guarantee for every map, computer or match.
Use the result to narrow the next question
Write down the scene, observed symptom and relevant metric rather than copying only the biggest FPS number. If the issue concerns launch instability after copied settings, the launch-options guide offers a controlled comparison for that separate cause.
Do not treat monitoring as permission to change firmware, install unknown drivers or paste performance command packs. There is no FPS improvement promised here. A useful completed check says what was measured, under which conditions and what remains unknown; it does not turn one counter into an explanation for all stutter.