Why painted-in highlights look wrong on a CS2 finish
Valve’s physically based rendering guidance treats albedo as material reflectance, not a screenshot with lighting already painted into it. Its technical overview warns against baking grime, scratches, ambient occlusion or weapon details into a finish, because compositing handles those contributions. Diagnose material color and scene lighting separately before editing the artwork.
CASECS2Updated:
Identify what each image represents
Image or observation
What it contains
Avoid treating it as
Albedo artwork
Material reflectance information
A finished lit screenshot
Rendered preview
Material, view and lighting combined
Direct source color evidence
Painted shadow
An authored dark area
Automatically correct ambient occlusion
Imagine an original panel with a bright band copied from a favorite preview’s highlight. Under another light, that band may remain while a new highlight appears elsewhere. The diagnostic question is whether lighting was painted into the material instead of being produced by the scene.
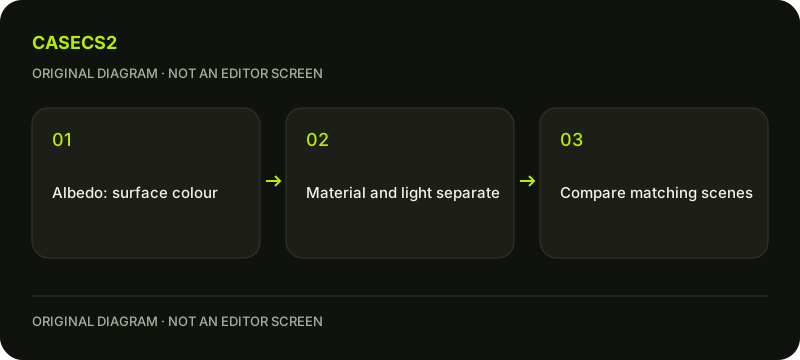
A check diagram, not a game screen.
Start with the PBR distinction
Valve explains albedo through physical reflectance rather than the legacy diffuse approach. Read that distinction before using an image editor to make one screenshot resemble another. The rendered result combines more than the underlying color texture.
The lighting-comparison guide helps establish a repeatable view. It does not let you infer exact source color values from a rendered frame. Keep the artwork and preview labeled separately so that a change in illumination is not misrecorded as a change in the authored albedo.
Do not duplicate the pipeline’s detail
The technical overview advises against baking grime, scratches, ambient occlusion or weapon details into the finish. Those are handled through compositing. Adding them again can make an image convincing in one preview while giving the wrong impression when other contributions are applied.
For an original test design, use simple, intentional color areas whose purpose you can explain. Do not trace an existing rendered skin image and call the result clean material input. The first-finish guide introduces the broader authoring workflow, while the current technical guide supplies the relevant material rules.
Compare under controlled light and view
Keep the weapon, style, wear and relevant material settings recorded. Inspect a familiar neutral comparison first, then change the view or lighting deliberately. If a painted bright patch stays fixed while the scene’s reflection moves, note that difference rather than compensating with more painted light.
This is a proposed diagnostic method, not a claim that a specific game item or device was tested. Avoid changing every material input together. A comparison with one clear difference is easier to explain than a polished image whose color, roughness, wear and light were all revised at once.
Avoid universal color-number recipes
Valve’s numeric guidance contains material-specific qualifiers. This article intentionally does not turn those ranges into universal RGB commands or approval criteria. Read the current source for the selected material rather than prescribing one safe value for every finish.
A screenshot does not reveal a guaranteed source albedo, gamma conversion or physically correct preset. The catalog-image comparison guide illustrates another reason to distinguish image roles. A presentation image can be useful while still lacking the information needed to reconstruct the underlying authoring inputs.
Keep the outcome about material interpretation
Record the original design intent, which baked contribution was removed or separated and what happened under the controlled comparison. If the result is uncertain, retain that uncertainty rather than calling one attractive image proof of correct PBR behavior.
For an organized comparison, use the before-and-after board approach. For an actual item’s wear, consult the instance-float guide separately. Editing authoring albedo does not raise an owned skin’s float, improve its resale value or update an existing catalog item. It answers a narrower question about how the intended material responds to light.
Sources checked on 2 November 2026. Labels and locations can vary by client version and language. Match the described state in your own current interface.
Help
Questions and answers
What you should know before you begin.
Is a screenshot a ready-made albedo texture?
No. A rendered screenshot combines material and lighting information that should not be treated as raw albedo.
Should I paint ambient occlusion and weapon scratches into the finish?
Valve’s technical overview says those contributions are handled by compositing rather than baked into the finish artwork.
Does one RGB preset fit every material?
No universal preset is given here. The technical source’s material-specific qualifications matter.