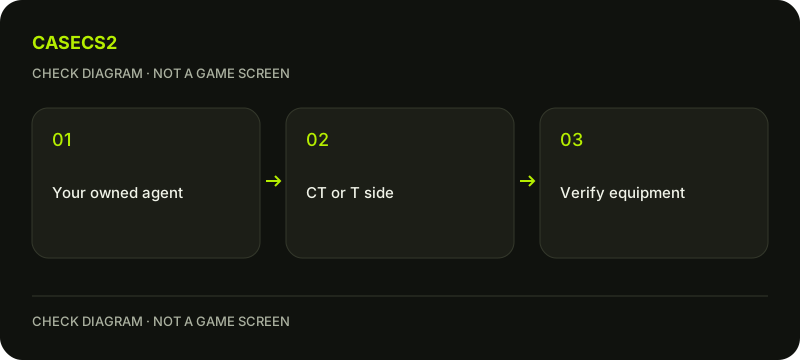
Start with the agent you actually own and the team it belongs to. Agent selection is separate from assigning a weapon finish: choosing a CT character does not configure your T character or equip a skin. Check the current game’s equipment action and selected state, rather than assuming that an inventory preview applied the change.
CASECS2Updated:
Work through one team-selection example
Suppose you want to change your CT character but keep the other side as it is. Treat that as one bounded equipment task.
Check
What to establish
What not to assume
Inventory entry
The intended agent is owned
A picture proves ownership
Team
The agent’s appropriate side
Any character fits either side
Selected state
The intended agent is equipped
Preview means equipped
Other team
Its selection remains intentional
One side configures both
The item-identity guide helps distinguish the actual entry from a similar name.
A check diagram, not a game screen.
Identify the owned character first
Open the game with the intended Steam account, then locate the agent in its inventory or equipment area. Check the full name before using the offered action. Several remembered pictures are not a reliable substitute for the entry in front of you.
If you only have a website record or wishlist, resolve ownership first. The Steam versus website inventory explanation covers that boundary. Do not diagnose an equipment failure when the candidate was never confirmed in the game’s inventory.
Choose the appropriate side
Valve introduced agents as CT- or T-sided characters, alongside the default Local Agent or Operator option. Read the team context in the current equipment interface and select the intended owned agent there.
If you prefer the standard character, look for the current default option rather than searching for a purchasable copy of it. Keep the task limited to your chosen side. Historical Shattered Web reward instructions explain the feature’s origin; they are not current instructions to buy an old pass or complete those missions today.
Verify selection separately from appearance
After the equipment action, review which agent is selected for that side. An animated preview can help you inspect appearance, but it does not replace the game’s actual selected-state indication. Check again if you switched between several entries while comparing them.
Use a suitable in-game context to review the result, without claiming that every screen or mode presents the character identically. Record the team and character name if a mismatch remains. Describing exactly what was selected is more useful than saying only that the character looks wrong.
Keep character and weapon planning distinct
You may want the character and weapon finishes to feel visually consistent. That is a personal design decision, not proof of any weapon-stat benefit. First settle the team’s agent, then review the actual weapons you use.
The weapon-role plan helps prioritise those choices. The inventory builder uses its supported skin records; it is not an integrated agent catalogue or an automatic equipment controller. A saved browser plan cannot establish which character the game has selected.
Finish with two named selections
Write down your intended CT choice and T choice, including a default option if that is deliberate. Check both against the game’s current selected states. This makes later changes easier to review without reconstructing a whole collection from memory.
If one side does not match, return to its entry and the current game message before trying unrelated account actions. You do not need to acquire extra characters to understand the selection you already have. End with confirmed ownership, the correct side and a verified equipment state.